Do you Mirror Image for Sublimation? Avoiding Printing Mistakes!
Sublimation printing is a versatile method for transferring your vibrant designs onto various substrates, but it often raises the question: ‘Do you mirror image for sublimation?‘ In this comprehensive guide, we explore the significance of mirroring in sublimation printing and when you should or shouldn’t utilize this technique. Understanding your role of mirroring and its exceptions can significantly impact the quality of your sublimation projects. So, why wait? Let’s delve into the world of sublimation and the art of mirroring.
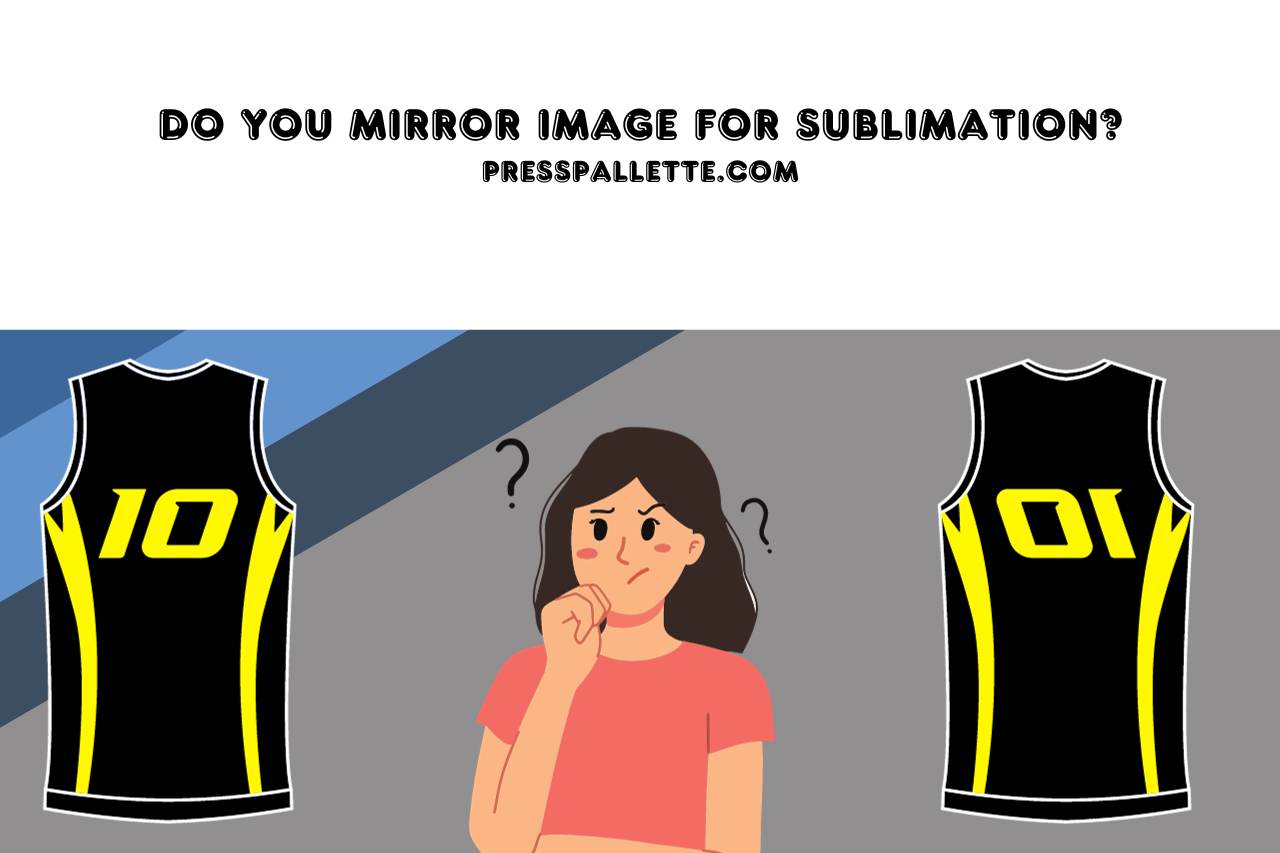
Do You Mirror Image for Sublimation Printing?
Yes, in most cases. Sublimation printing is a unique process where heat and pressure are used to transfer your image or design onto various surfaces, such as textiles, ceramics, and metals.
During this process, the ink on your sublimation paper is converted into a gas and penetrates your surface to create a vibrant, long-lasting image.
However, your transfer process can be a bit tricky because it requires you to print your design in reverse or mirror it before transferring it to your final substrate.
The reason for mirroring is simple. When your mirrored image is pressed onto your substrate, it will reverse back to its correct orientation, ensuring that your final print appears exactly as intended. Without mirroring, you’d end up with a backward or flipped image.
So, for you to ensure your sublimation prints come out looking just right, always remember to mirror your image or design before you send it to your printer. It’s a fundamental step in your sublimation printing that can make a huge difference between a professional-looking finished product and a disappointing result.
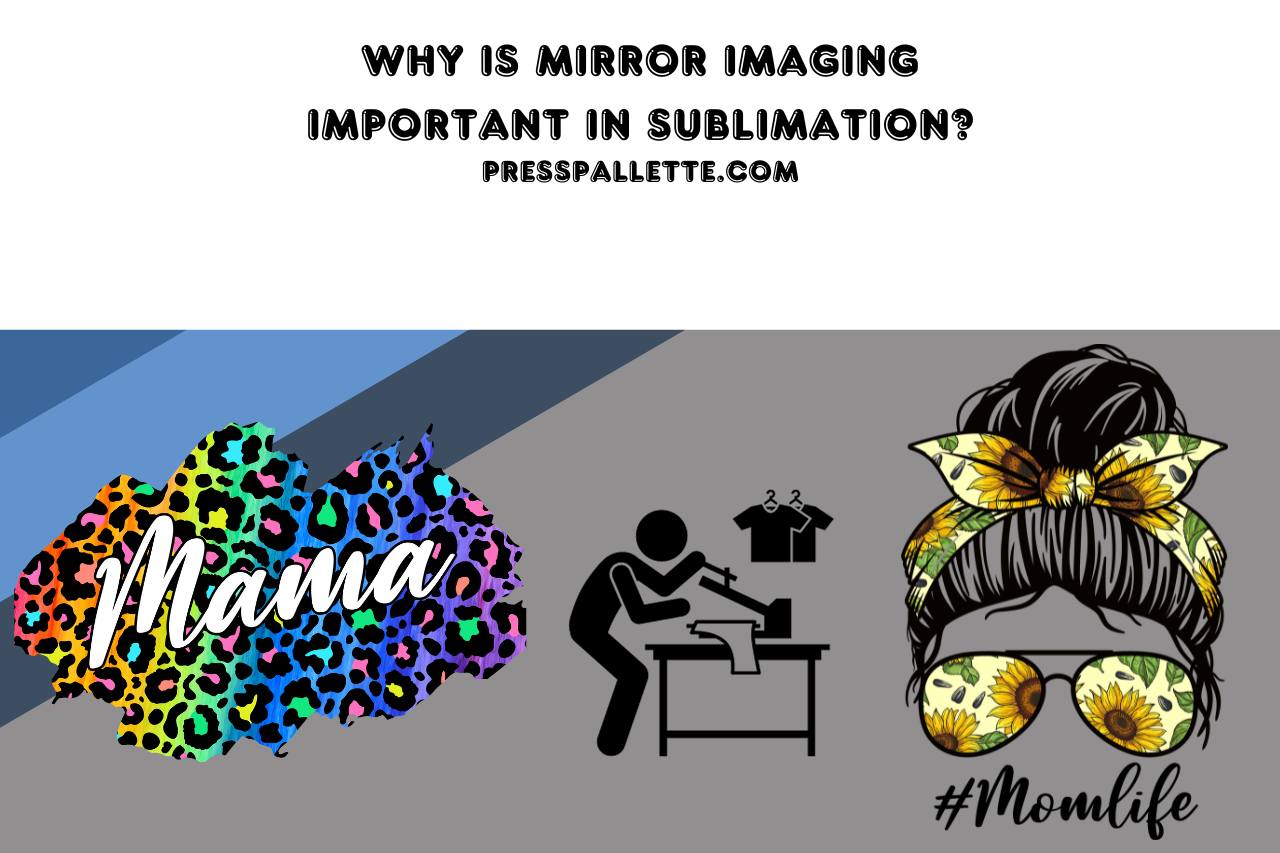
Why is Mirror Imaging Important in Sublimation?
The answer lies in the unique nature of your sublimation transfer process.
Sublimation printing involves transferring your image from a sublimation paper to a substrate using heat and pressure.
The inks used in sublimation are designed for you to convert from a solid to a gas without going through a liquid phase. During your transfer, the ink on your paper turns into a gas when heated and penetrates the surface of your substrate.
Here’s where your mirroring comes into play. When you mirror your image before printing, you essentially reverse it. So, when your mirrored image is transferred onto your substrate, it reverts to its original orientation, appearing as you intended it.
If you do not mirror your image, it will be transferred exactly as it’s printed, which can result in a backward or flipped final product.
This is particularly important when you are dealing with your text or designs with distinct left and right orientations. Mirroring ensures that your text reads correctly and that your design appears as you want it to.
Therefore, mirroring your image is essential for sublimation on various substrates, including your clothing, mugs, and ceramic items. By mirroring your images, you’re guaranteeing that your end result looks professional and accurately reflects your design. So, whenever you’re preparing a design for sublimation, remember to mirror your image to achieve your desired outcome.
Steps to Create a Mirrored Image for Sublimation
Creating your mirrored image for sublimation isn’t a complex process. Here are the steps for you to ensure your designs are ready for your sublimation printing process:
- Select Your Design Software: Choose your design software that allows you to manipulate and mirror your images. Popular choices from all our clients include Adobe Photoshop and CorelDRAW. You can also use your free online image editors like GIMP.
- Open Your Design: Open your design in your chosen software. Ensure it’s in your correct orientation before proceeding.
- Mirror your Image: Find your mirroring or flipping tool in your design software. In most cases, you’ll locate this under your “Transform” or “Edit” menu. Select your horizontal flip or mirror option, and your design will be reversed.
- Check Your Design: After mirroring your image, double-check your design to ensure it appears as you want it to when transferred. Now, look for any text or elements that you should now correct to be oriented.
- Save your Mirrored Image: Save your mirrored image as a new file. This step is crucial to preserve your original design while having your mirrored version ready for your sublimation.
- Print your Mirrored Image: When you print your mirrored image, make sure you select your mirrored version, not your original. This is a common oversight from many of our peers, so it’s essential for you to confirm that you’re printing your reversed design.
- Sublimation Printing: Proceed with your sublimation printing as usual, using your mirrored image. The printer will reproduce your image correctly on your substrate because it will reverse it during your heat transfer process.
By following these steps, you can confidently create your mirrored images for sublimation printing. Proper mirroring ensures that your designs are accurately represented on your final products, helping you achieve professional, high-quality results.
Common Mistakes to Avoid in Mirror Imaging for Sublimation
Creating mirrored images for sublimation printing is a crucial step for you, and it’s essential that you avoid common mistakes that can affect the quality of your final products. Here are some pitfalls for you to steer clear of:
- Forgetting to Mirror Text: One of your most frequent mistakes is neglecting to mirror text. The text should always be reversed to appear correctly on your sublimated item.
- Inconsistent Software Settings: Make sure your mirroring tool in your design software is used correctly. Sometimes, if you are a beginner, you might not apply your mirroring option or mistakenly use the wrong setting.
- Reversing your Original Image: It’s vital for you to create a new, mirrored copy of your design and save it separately. We have made the mistake of reversing our original file, which can lead to confusion and difficulties in your design process.
- Misaligned Designs: After mirroring, double-check your design for any misalignment issues. Sometimes, your elements may not be perfectly centered or may appear crooked. Adjust and align everything correctly.
- Omitting Test Prints: It’s good practice for you to make test prints of your mirrored images on plain paper before transferring them to your substrates. This step allows you to confirm that everything looks as expected.
- Incorrect Substrate Handling: Some substrates, like fabrics, can have varying degrees of transparency. When printing on your transparent or light-colored materials, make sure to use your white under base layers to maintain your color vibrancy and opacity.
- Overlooking Reversed Logos: Logos or graphics with text can be tricky. Clients have often forgotten to mirror their image and not just their text but their entire graphic. Neglecting this can lead your logo to issues on your final product.
- Rushing the Process: Sublimation printing requires attention to detail. Rushing through your mirroring process can result in errors. Take your time to ensure everything is correctly mirrored and aligned.
Avoiding these common mistakes ensures that your mirrored images for sublimation printing are accurate and produce professional-quality results. Paying attention to your mirroring process will lead you to a well-executed, vibrant, and correctly oriented design on your sublimated items.
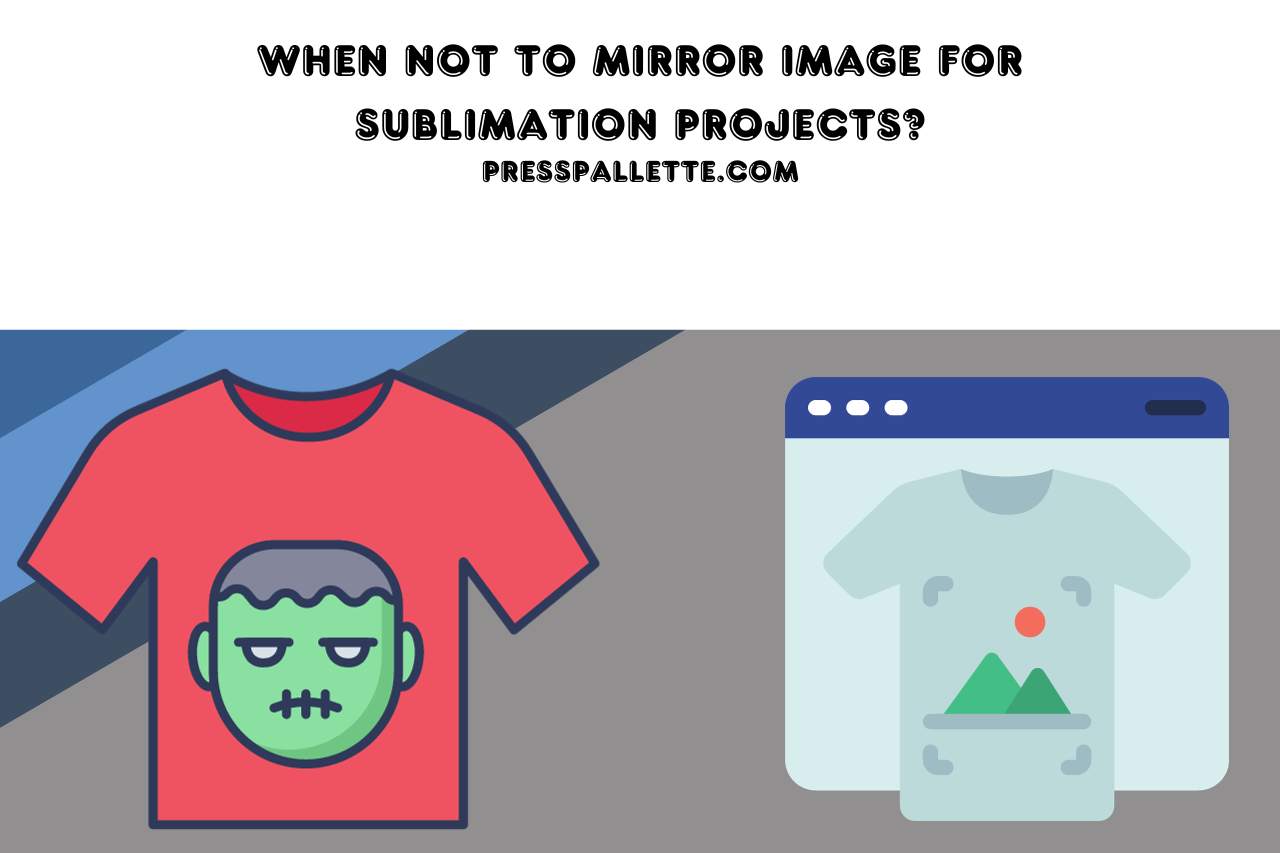
When Not to Mirror Image for Sublimation Projects?
While mirroring is crucial for most of your sublimation projects, there are instances when you might not want to mirror your image. Here are situations where your mirroring may not be necessary:
- Double-Sided Printing: If you intend to print on both sides of your substrate, such as a double-sided flag or banner, you won’t mirror your image. Each side of your fabric receives its unique design, and mirroring is unnecessary.
- Ambigrams and Symmetrical Designs: For ambigrams or perfectly symmetrical designs that look the same from different angles, your mirroring may not be needed. These designs maintain their integrity regardless of your orientation.
- Substrates with Uniform Translucency: Some substrates, like your glass or clear acrylic, have uniform translucency, meaning there is no need for you to reverse your image. Your design is visible from both sides, so mirroring isn’t required.
- Specific Artistic Effects: In certain artistic or creative projects that we have noticed, non-mirrored images might be used intentionally for unique effects. These situations are exceptions and rely on your artist’s preference.
- Text or Graphics with Reversible Readability: If your design contains text or graphics with reversible readability, you may opt not to mirror them. Examples include your QR codes or 2D barcodes, which can be scanned from either direction.
For most sublimation applications, mirroring is your standard procedure. However, understanding when not to mirror your image is equally important, ensuring that your final product aligns with your artistic or functional intent.
Watch this one,
Video Credits – Southpaw’s Studio
You May Also Like
- Can you Bleach and Sublimate On a 60 Cotton 40 Polyester? Exploring Printing Possibilities!
- Why is My Sublimation Print Faded After Washing? Unveiling the Mystery!
- How to Make Sublimation Brighter? Make Colors Pop!
- Can you Sublimate On Modal Fabric? (What You Need to Know)